sundown
How to Remove Old Window Tint and Why DIY Removal Often Fails?
Removing old window tint requires more than simply peeling away the film. Over time, tint adhesive can become hardened and difficult to remove, increasing the risk of leftover residue, damaged defroster lines, or scratched glass. While some side window tint removal projects can be completed with the right tools and patience, many vehicles benefit from professional window tint removal to ensure a clean result without unnecessary damage.
For drivers in Riverside, CA, and surrounding areas, understanding how old window tint is removed can help you decide whether a DIY approach is realistic or whether professional service is the better option.
Why Removing Old Window Tint Can Be Difficult
Window tint is designed to bond securely to automotive glass, which means older film often becomes much harder to remove. Years of sunlight, heat exposure, and aging adhesive can cause the tint to become brittle, making it more likely to tear into small pieces instead of coming off smoothly.
One of the biggest challenges is the adhesive left behind after the film is removed. Even when the tint itself peels away successfully, a layer of sticky residue may remain on the glass. Removing this residue requires careful techniques because aggressive scraping can create scratches or damage sensitive areas.
Rear windows can be especially challenging because many vehicles have built-in defroster lines. These thin electrical components help clear fog and frost, but they can be damaged if scraped incorrectly during tint removal.
Tools Needed for Window Tint Removal
The right tools can make the removal process safer and more effective. Common supplies include:
- Heat gun or steamer to soften the adhesive
- Plastic scraper for lifting film and residue
- Automotive glass adhesive remover
- Microfiber towels
- Spray bottle with soapy water
- Protective gloves
A plastic scraper is generally preferred over metal blades because it reduces the chance of scratching the glass or damaging rear window defroster lines.
Step-by-Step Guide to Removing Old Window Tint
Prepare the Vehicle and Work Area
Before removing tint, protect your vehicle’s interior by covering seats, panels, and other nearby surfaces. Adhesive residue and pieces of old film can create a mess during removal.
Work in a well-ventilated area, especially if you plan to use adhesive removers. Wearing gloves can also help protect your hands from sharp film edges and cleaning chemicals.
Use Heat to Loosen the Adhesive
Heat helps soften the adhesive underneath the tint film, making it easier to remove. A heat gun or steamer can be used carefully to warm small sections of the window.
Avoid applying excessive heat in one area for too long. Controlled heating helps loosen the adhesive while reducing the chance of damaging the glass.
Slowly Remove the Tint Film
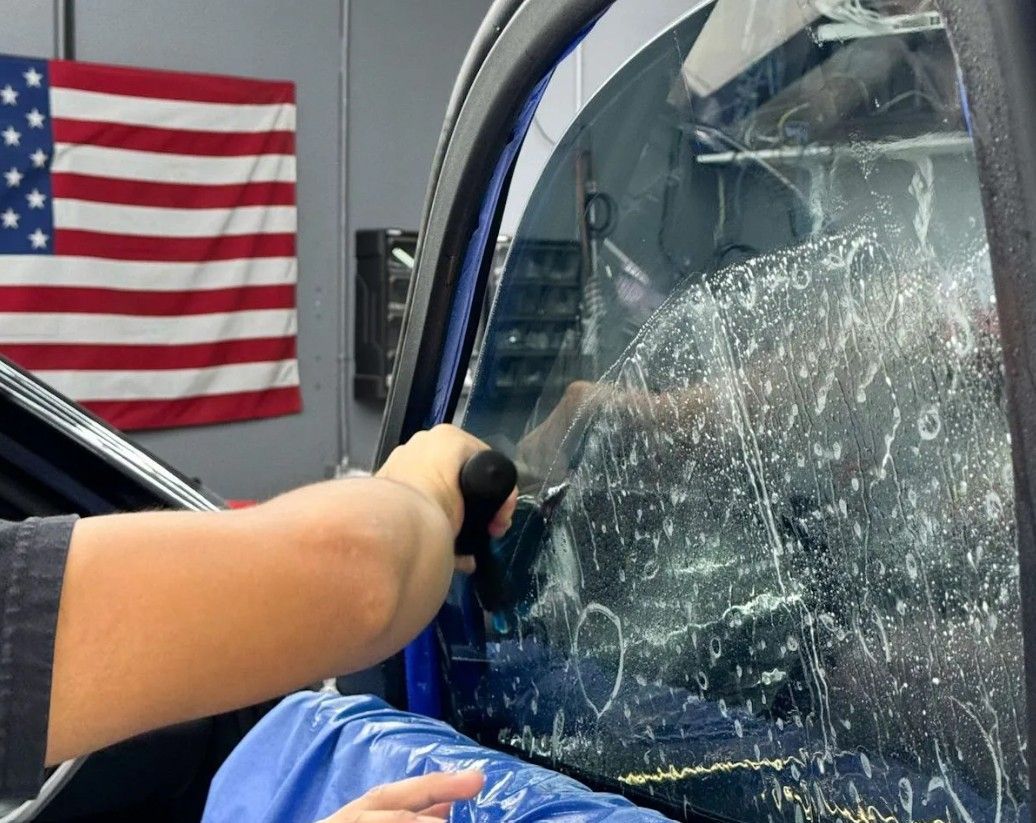
Once the adhesive begins to soften, carefully lift a corner of the tint and slowly peel the film away from the glass.
Moving gradually helps keep the film in larger sections and reduces the amount of adhesive left behind. If the tint begins tearing, additional heat may be needed to soften the remaining adhesive.
Clean Remaining Adhesive
After removing the film, the next step is eliminating leftover adhesive. Apply an automotive-safe adhesive remover and allow it to loosen the residue before gently wiping or scraping it away.
Use microfiber towels to clean the glass and remove any remaining particles. A properly cleaned surface is especially important if you plan to install new window tint.
Common Mistakes During DIY Tint Removal
Many failed tint removal attempts happen because the process is rushed. Common mistakes include:
Using Too Much Force
Pulling aggressively can cause the film to break apart and leave behind more adhesive. Slow, controlled removal is usually more effective.
Using Metal Tools on Glass
Razor blades and metal scrapers may seem convenient, but they can create scratches or damage delicate components, especially on rear windows.
Ignoring Remaining Adhesive
Removing only the film is not enough. Leftover adhesive can affect visibility and prevent new tint from bonding properly.
When Should You Choose Professional Window Tint Removal?
DIY removal may work for some vehicles, especially when the tint is newer and the installation area is straightforward. However, professional removal is often the better choice when dealing with older tint, stubborn adhesive, rear windows with defroster lines, luxury vehicles, or vehicles with complex glass features.
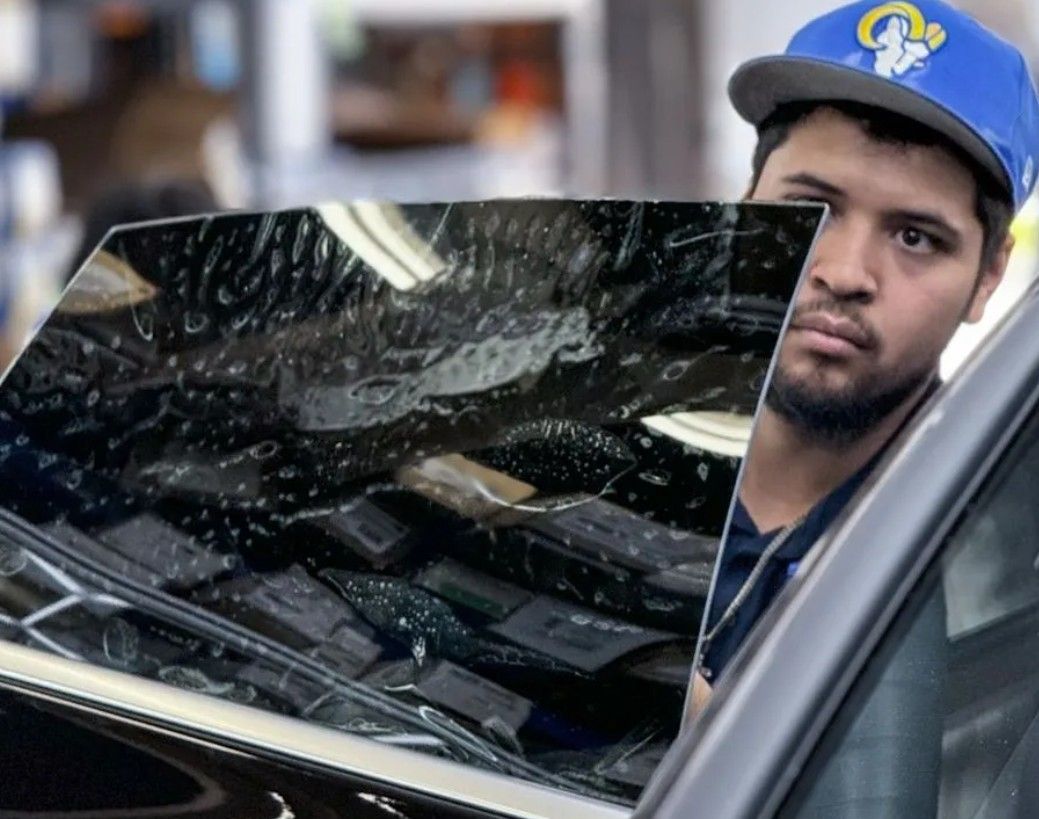
Professional technicians use specialized tools and experience to remove old tint while protecting the vehicle’s glass and interior. This can help prevent costly mistakes and create a cleaner surface for future tint installation.
For vehicle owners who value quality workmanship and long-lasting results, professional window tint removal provides confidence that the job is completed correctly.
Why Proper Tint Removal Matters Before New Installation
Installing new window tint over leftover adhesive or improperly prepared glass can affect the appearance and performance of the finished result. Proper removal creates a cleaner foundation, helping new tint apply more smoothly.
A professional tint shop can evaluate the condition of your existing film, remove outdated tint, prepare the glass, and recommend the right solution based on your vehicle and preferences.
Get Professional Window Tint Removal in Riverside, CA
Old window tint removal can be a time-consuming process, especially when adhesive has hardened or sensitive glass components are involved. While careful DIY methods may work in some situations, professional service helps protect your vehicle and ensures a cleaner result.
Sundown Window Tint provides expert window tint solutions for drivers who want quality workmanship, reliable service, and results they can trust. If your vehicle needs old tint removed before a new installation, schedule a consultation with our team today.
Call 951-359-0850 or request a quote online to schedule your consultation.
FAQs About Removing Old Window Tint
Can I remove old window tint myself?
Yes, some tint removal projects can be completed at home with the right tools and patience. However, older tint, stubborn adhesive, and rear windows with defroster lines can make DIY removal more difficult and increase the risk of damage.
How long does window tint removal take?
The time required depends on the age of the tint, the amount of adhesive buildup, and the vehicle type. Some removals can be completed quickly, while older film may require additional time for adhesive cleanup.
What is the easiest way to remove old tint adhesive?
The easiest method is usually applying controlled heat and using automotive-safe adhesive removers designed for glass surfaces. Gentle cleaning methods help reduce the risk of scratches.
Should I remove old tint before installing new window film?
Yes. Removing old tint and adhesive creates a cleaner surface for new film installation and helps improve the appearance and longevity of the finished result.
When should I hire a professional for tint removal?
Professional removal is recommended when tint is heavily aged, adhesive is difficult to remove, the vehicle has sensitive rear defroster lines, or you want to avoid risking damage to your glass.